
Are you teaching the Units of Study by Lucy Calkins? Let me guess… you are weeding through pages and pages of her teaching resources and thinking, “How does Lucy Calkins’ curriculum translate to actual writing lessons that can be used in my classroom? How am I ever going to cover all of this material in the allotted time I have for writing? Can I take this content and create user-friendly teaching materials? Will I get my students to actually enjoy writing and look like the students on the covers of these Lucy Calkins books?” If any of these thoughts have crossed your mind, let me tell you… you are not alone.
When I was teaching writing to 4th graders, we were deep in the trenches of Lucy’s realistic fiction writing unit: The Arc of Story. While my students were eager to engage in writing, I was caught up in the teaching materials. I was trying to figure out systematic ways to teach these writing workshop lessons. I spent hours upon hours reading through the guides and over time, developed some time-saving hacks that led to a less tired me, a more enthusiastic classroom of learners, and a better grasp of how to teach workshop writing.
Before we dive into the good stuff, I want to share some of my own teaching resources for teaching the Units of Study by Lucy Calkins. These materials have saved teachers hundreds of collective hours and are packed with slides and corresponding materials for every session. My goal, always, is to make writing accessible to all students by providing systematic, concrete ways to write. Another goal is to save teachers time. I always say, “Why reinvent the wheel?”
What is Lucy Calkins’ Units of Study?
Lucy Calkins and the Teachers College Reading and Writing Project co-authors have worked together to develop curricula for elementary through middle school students in the following academic areas: reading, writing, and most recently, phonics! The framework follows a writing workshop approach. For those of you unfamiliar with a workshop writing model or if you simply need a refresher, read on!
What is Writing Workshop?
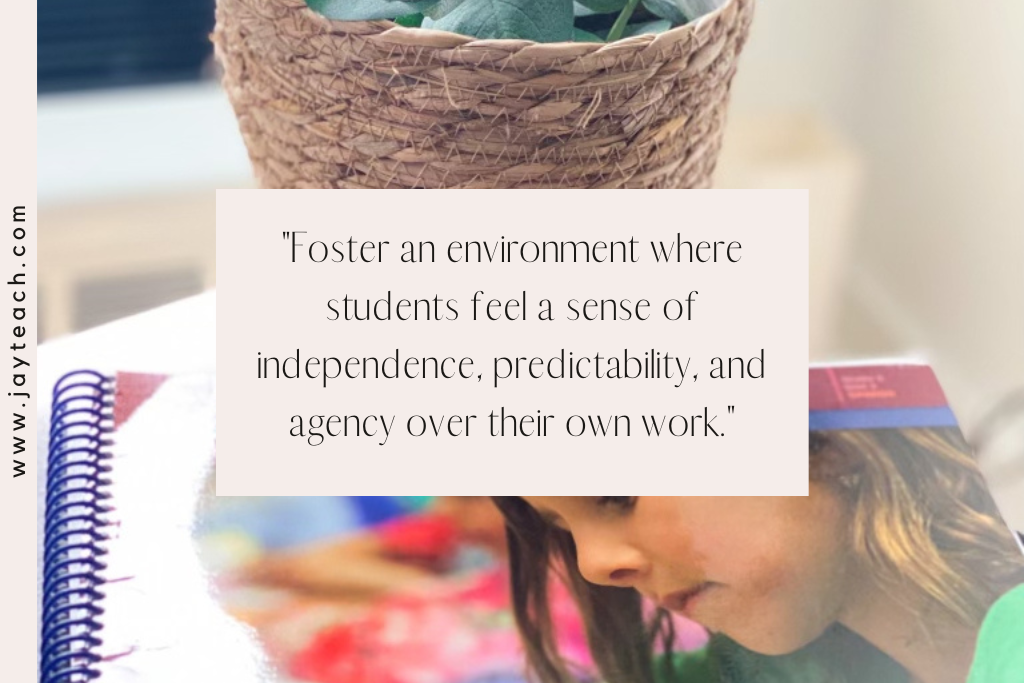
The goal of teaching writing using a writing workshop approach is to foster an environment where students feel a sense of independence, predictability, and agency over their work. Picture this: students scattered throughout the classroom, writing “fast and furiously” with a specific goal in mind for that particular session. The writing workshop model is composed of 5 main parts. Let me break it down.
1. The Mini-Lesson
The mini-lesson starts off the writing workshop and is essentially the explicit instruction led by the teacher. The teacher focuses on one specific topic and it is a time for students to gather together and learn a unified writing skill. The aim is for the mini-lesson to be about 10-15 minutes long. Here is the breakdown of the mini-lesson:
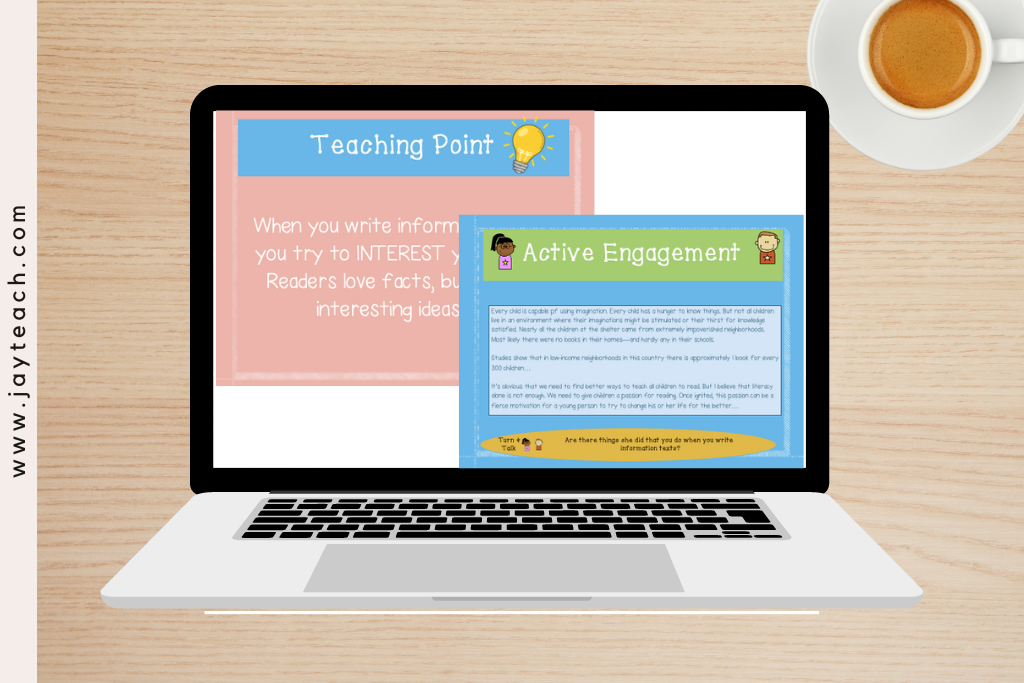
- Connection: This is a way to connect with students and activate their prior knowledge. Lucy Calkins often begins with a real-life story that is analogous to the teaching point of that day. The teaching point is the explicit summary statement outlining the goal or purpose of the session. For example, “Today I want to remind you that a writer often gives himself or herself a few last-minute things to keep in mind before launching into a draft.”
- Teaching: This is the presentation of the writing skill. Lucy Calkins often models a specific skill using her own writing or creating a class piece. This is also the time to add pertinent information to anchor charts. For example, in her 4th-grade unit, Bringing History to Life, Lucy continually adds to the chart called “Getting Ready to Write an Information Book,” during the teaching portion of the workshop.
- Active Engagement: This is the part where students get to practice the skill before going off on their own. Some might say that this portion of the mini-lesson is the most valuable. Not only is it a time for students to work together, but it also provides invaluable information for the teacher. The teacher can begin to see who is understanding the concept and who needs more practice.
- Link: This is the end of the mini-lesson portion and a time for students to practice the skill on their own.
2. Independent Practice
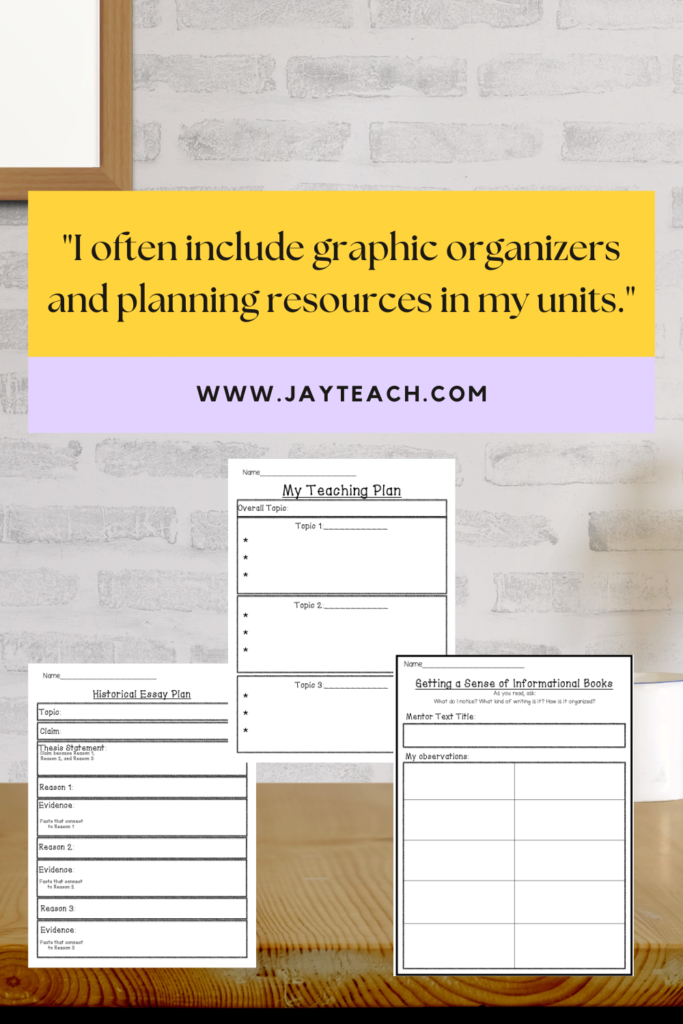
This part of the writing workshop model is exactly what it sounds like. It is the part where students take all they have learned during the mini-lesson and apply it to their own writing pieces. While Lucy Calkins encourages students to develop their own systems for planning, drafting, and revision, I often include graphic organizers and planning resources in my units for the students who may need them.
3. Conferring and Small Group Work
The third component of the writing workshop model happens while students are working. During this time, the teacher is monitoring understanding of the concept or skill and either conferencing with students one-to-one or leading small groups. This can look like providing supports and scaffolds for struggling writers and/or extensions for writers who are ready for the next level. The material covered is really dependent on what your group of learners needs at that moment, but Lucy Calkins does provide ideas in her Units of Study.
4. Mid-Workshop Teaching Point
This happens mid-way through the independent practice. The teacher stops the writers and delivers a secondary teaching point. Some examples include prompting writers to use transition words/phrases, reminding writers of paragraphing, or mentioning a pattern that the teacher is noticing.
5. Share
The writing workshop ends with a share. This is an opportunity for students to come together one more time and share with the class, a small group, or even a partner. This part of the lesson builds community, allows students to be recognized, and fosters writing confidence.
Now that you have a solid understanding of the Units of Study by Lucy Calkins and an overview of the writing workshop approach, here are some ideas for writing workshop you can implement in your own classrooms! Lucy Calkins’ curriculum can be overwhelming, but read on for my time-saving tips!
Time-Saving Tips to Teach the Units of Study
Tip #1: Condense, Condense, Condense
As I mentioned earlier, while thorough, the language used in the Lucy Calkins Units of Study can be verbose. The books are written like narratives — walking the reader through Lucy’s experience actually teaching each lesson. If you have nothing but time, grab a cup of coffee, sit back, relax, and explore the anecdotes, details, and examples— they are interesting! If you don’t, which I am assuming is why you’re here, condense, condense, condense. Here are some specific ways I cut time while planning:
- Jump right to the CONNECTION or TEACHING POINT section. You can always go back to the introductory pages if you need more context.
- Shorten the TEACHING POINT to one or two sentences.
- Turn the MID-WORKSHOP TEACHING POINT into a “reminder” at the bottom of the slide. I have found that stopping my students midway to teach another mini-lesson stops the flow of the writing workshop. I find it more time-efficient to view the mid-workshop teaching point as an “I have it in my back pocket if I need it,” type of thing.
Tip #2: Create Visuals
This may sound obvious, but creating visuals for writing workshop lessons helps keep both my students and myself on track. For my Lucy Calkins units, I use Google Slides or Powerpoint to guide us through each session. I typically create headings such as, “Active Engagement” “Your Task” or “Share” and reuse those slide templates over and over again. Creating these visuals also allows me to refer back to certain slides for certain students in order to promote independence. Here’s what I mean. Many of my “Your Task” slides have an action item for students to accomplish, followed by what they can do when they are finished. If a student approaches me during writing workshop time, I am able to redirect him/her back to the slide.
Tip #3: Make It Your Own
As teachers, we like following directions! It is easy to see Lucy Calkins’ Units of Study as a recipe–following each step to a T in order to prevent a cooking disaster. Luckily, there is no perfect science for teaching writing. I am here to let you know that it is okay to make it your own! Think about your classroom, your learners, and yourself! Here are some specific ways I have “made it my own.”
Create Graphic Organizers
You might be asking, “How is this a time-saving tip?” Ever hear, “Take time to save time?” Creating planning pages or graphic organizers might take some time, but will make the writing workshop accessible to all students. All of my units include writing workshop graphic organizers that connect with each session to make the overall process more streamlined.
Rethink the Timing
In my experience, 1 writing session=2 days. I have heard time and time again that the Units of Study do not take into account the limited time teachers have to teach writing. Know that the goal is for students to progress, not to follow Lucy’s timeline like a rule book.
Monitor Student Progress
I think one of my most important tips is to continuously confer with students, notice patterns, and plan accordingly. I use my writing workshop conference form to monitor student progress. If I am noticing that my students are getting it, I might skip the following session or even an entire bend!
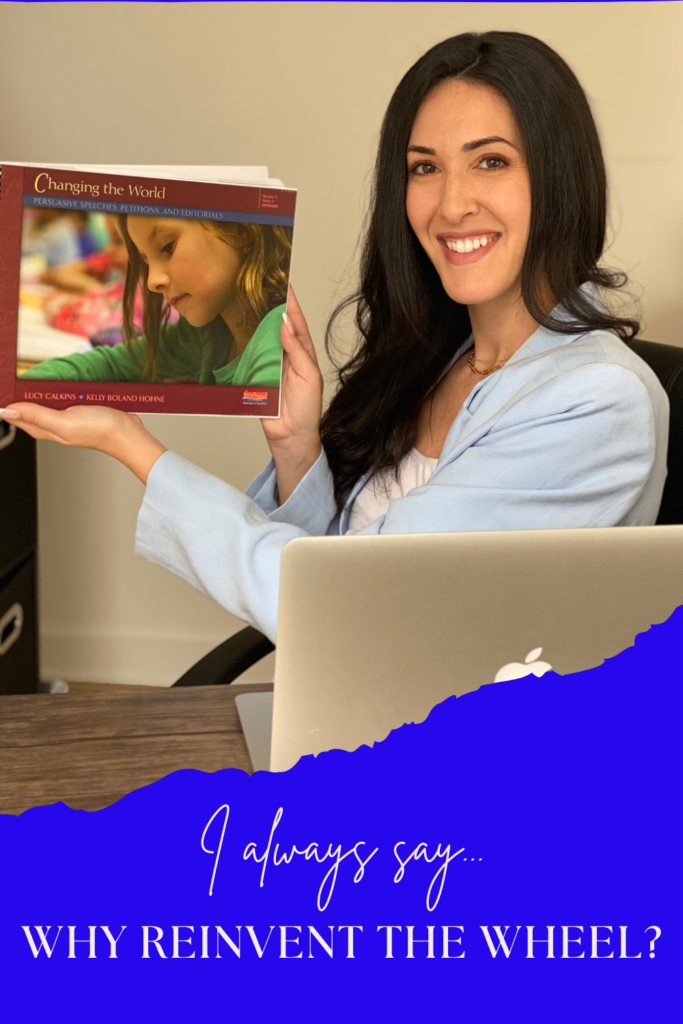
Also, remember— you don’t have to reinvent the wheel! There are tons of amazing Lucy Calkins resources out there, already made! Feel free to check out my store to preview some of my Lucy Calkins writing units. One of my missions is to save teachers time and these resources do just that!
Ultimately, the goal of writing workshop is to create a comfortable environment that fosters eagerness within your writers. It may look different in every classroom and that is okay! Like anything, find what works for you and forget about the rest. You can also visit my website to learn more tips & tricks. Now go ahead and teach those Units of Study by Lucy Calkins!